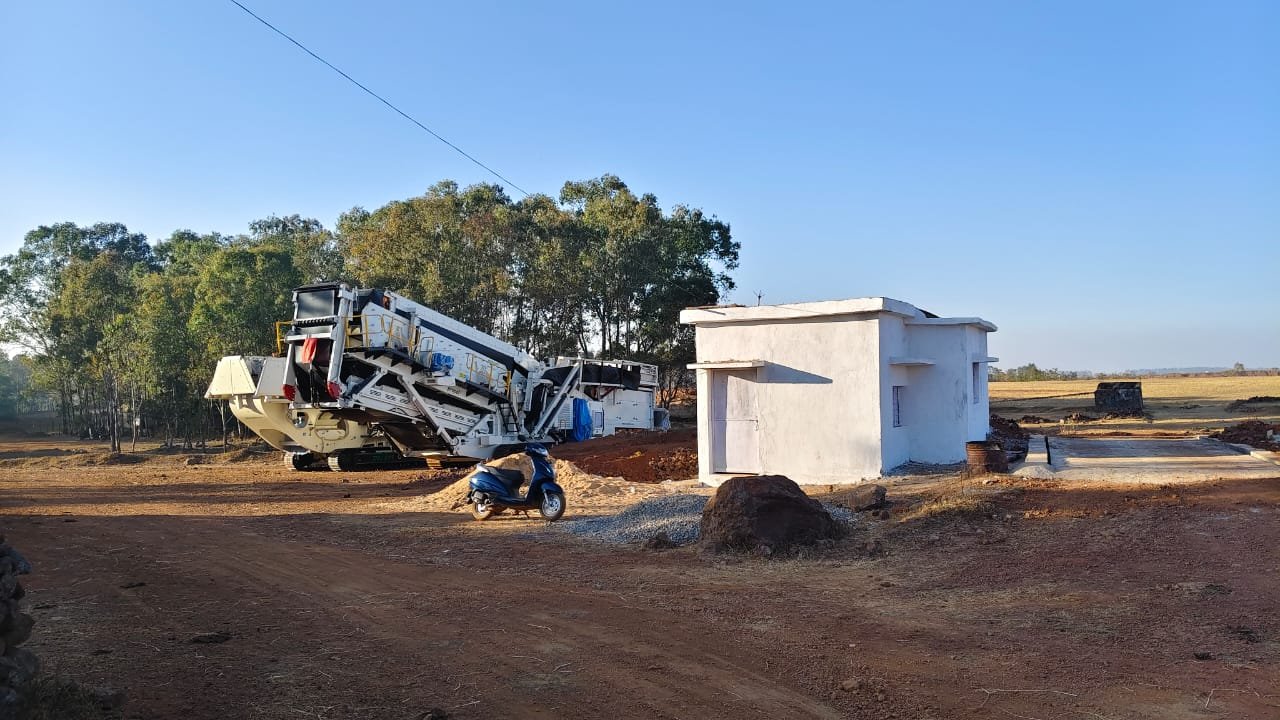
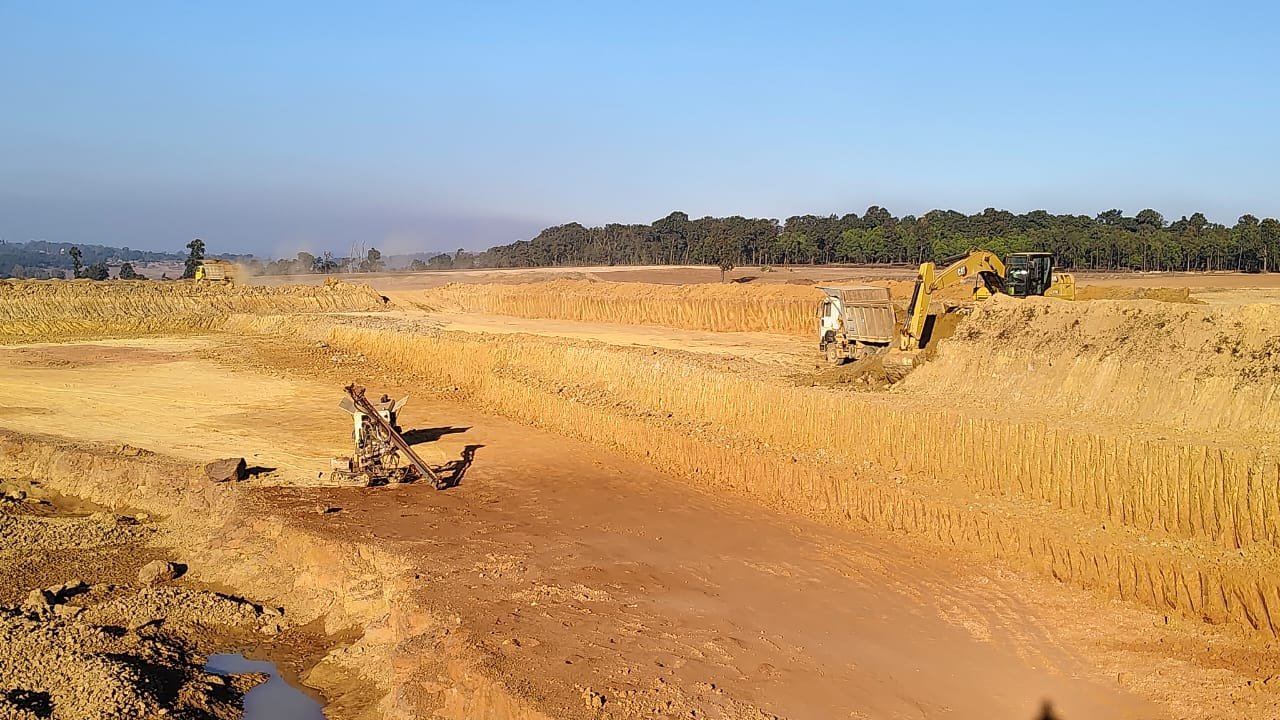
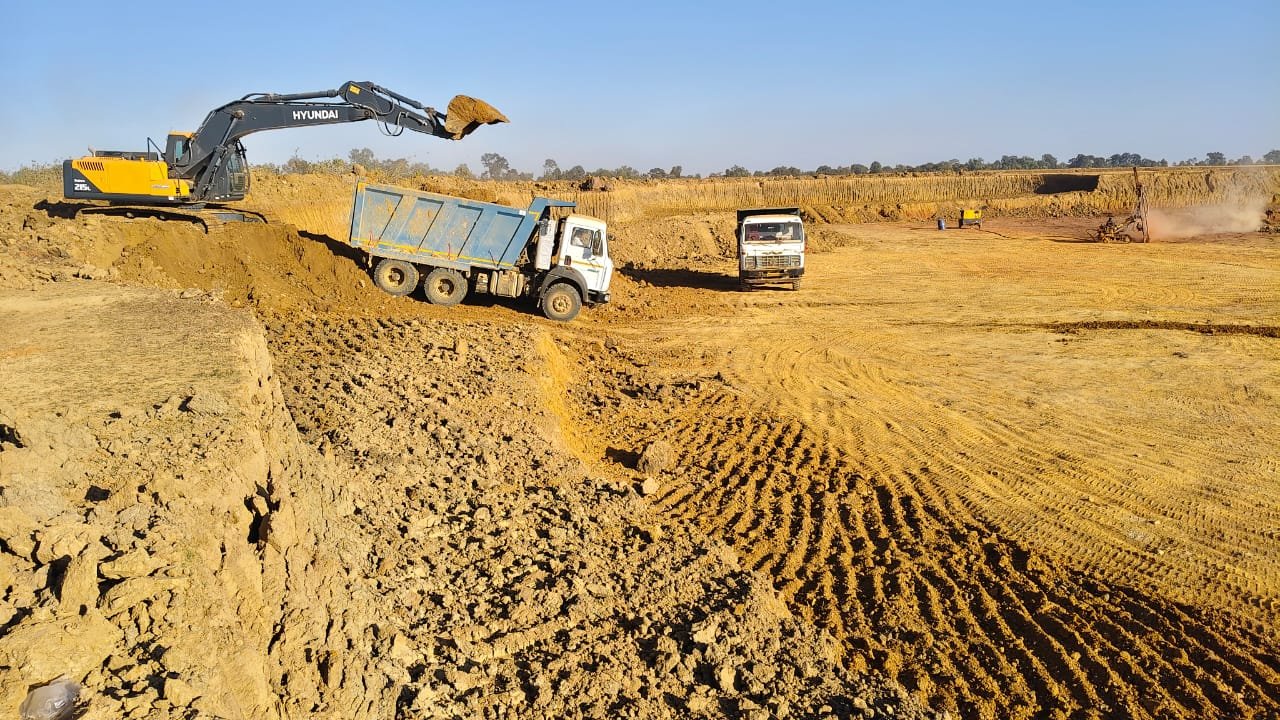
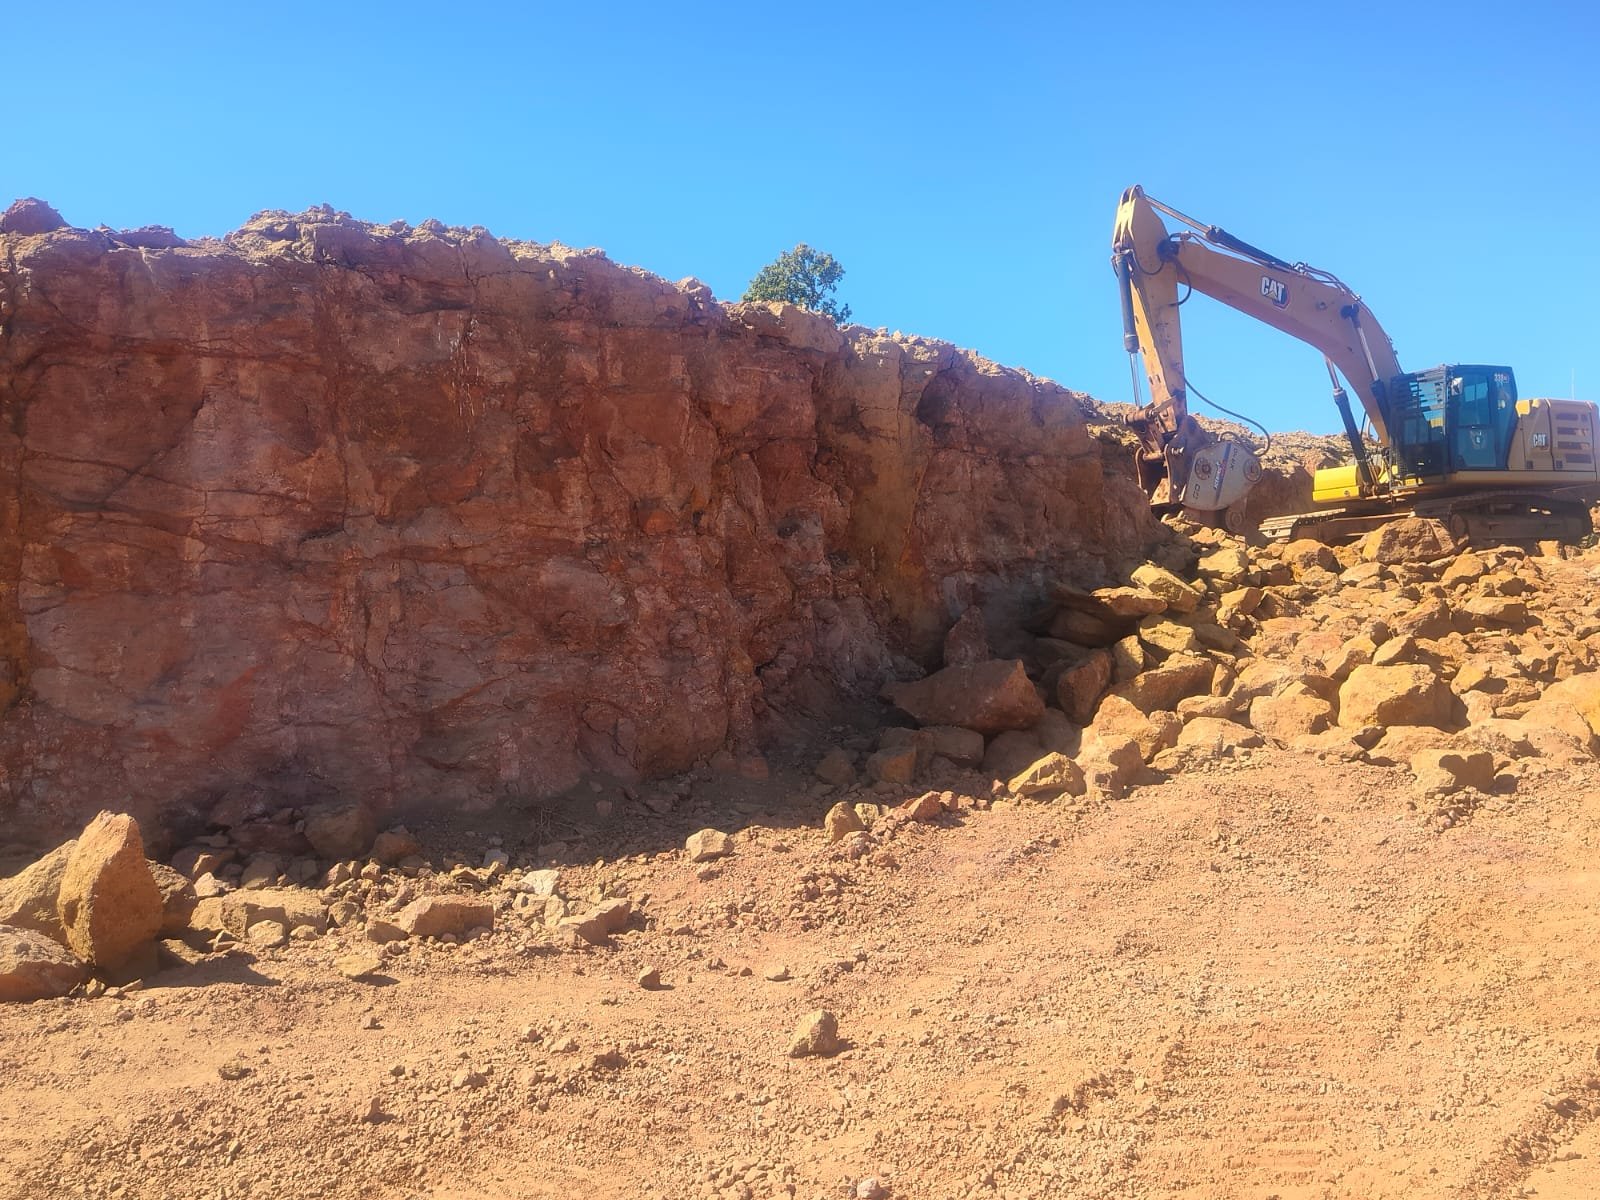
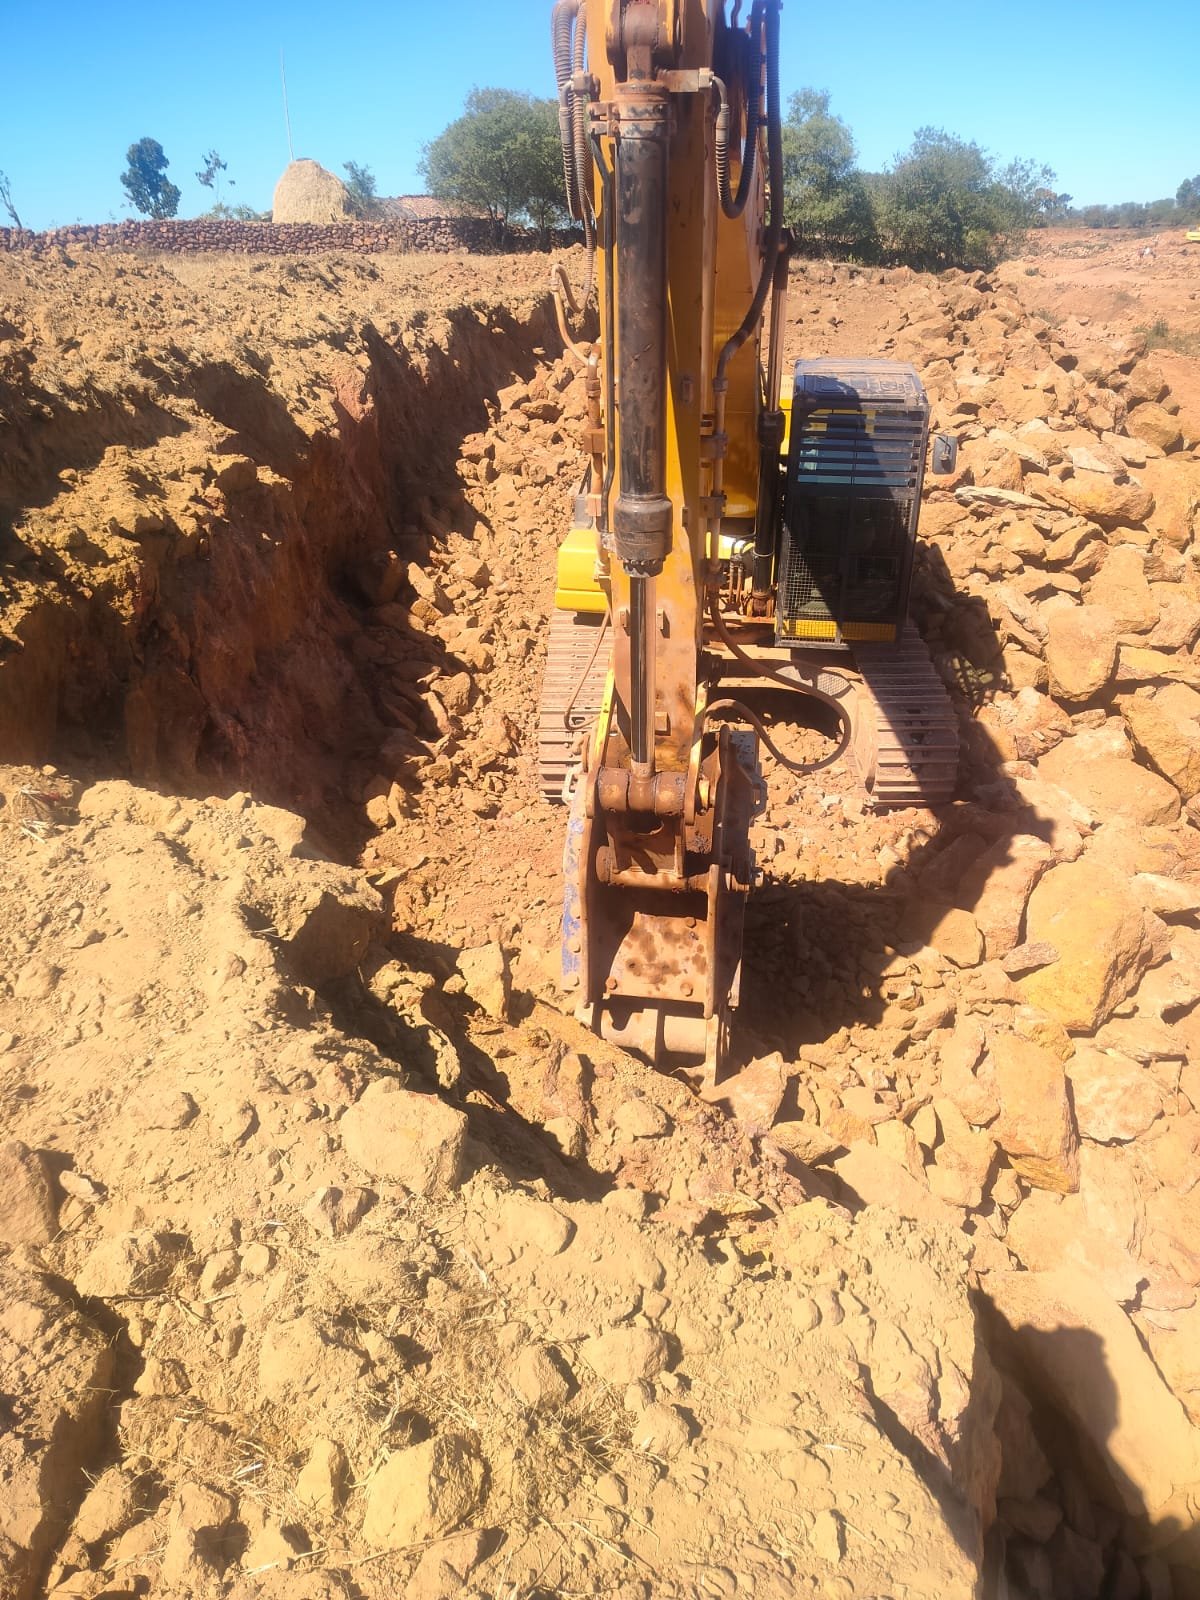
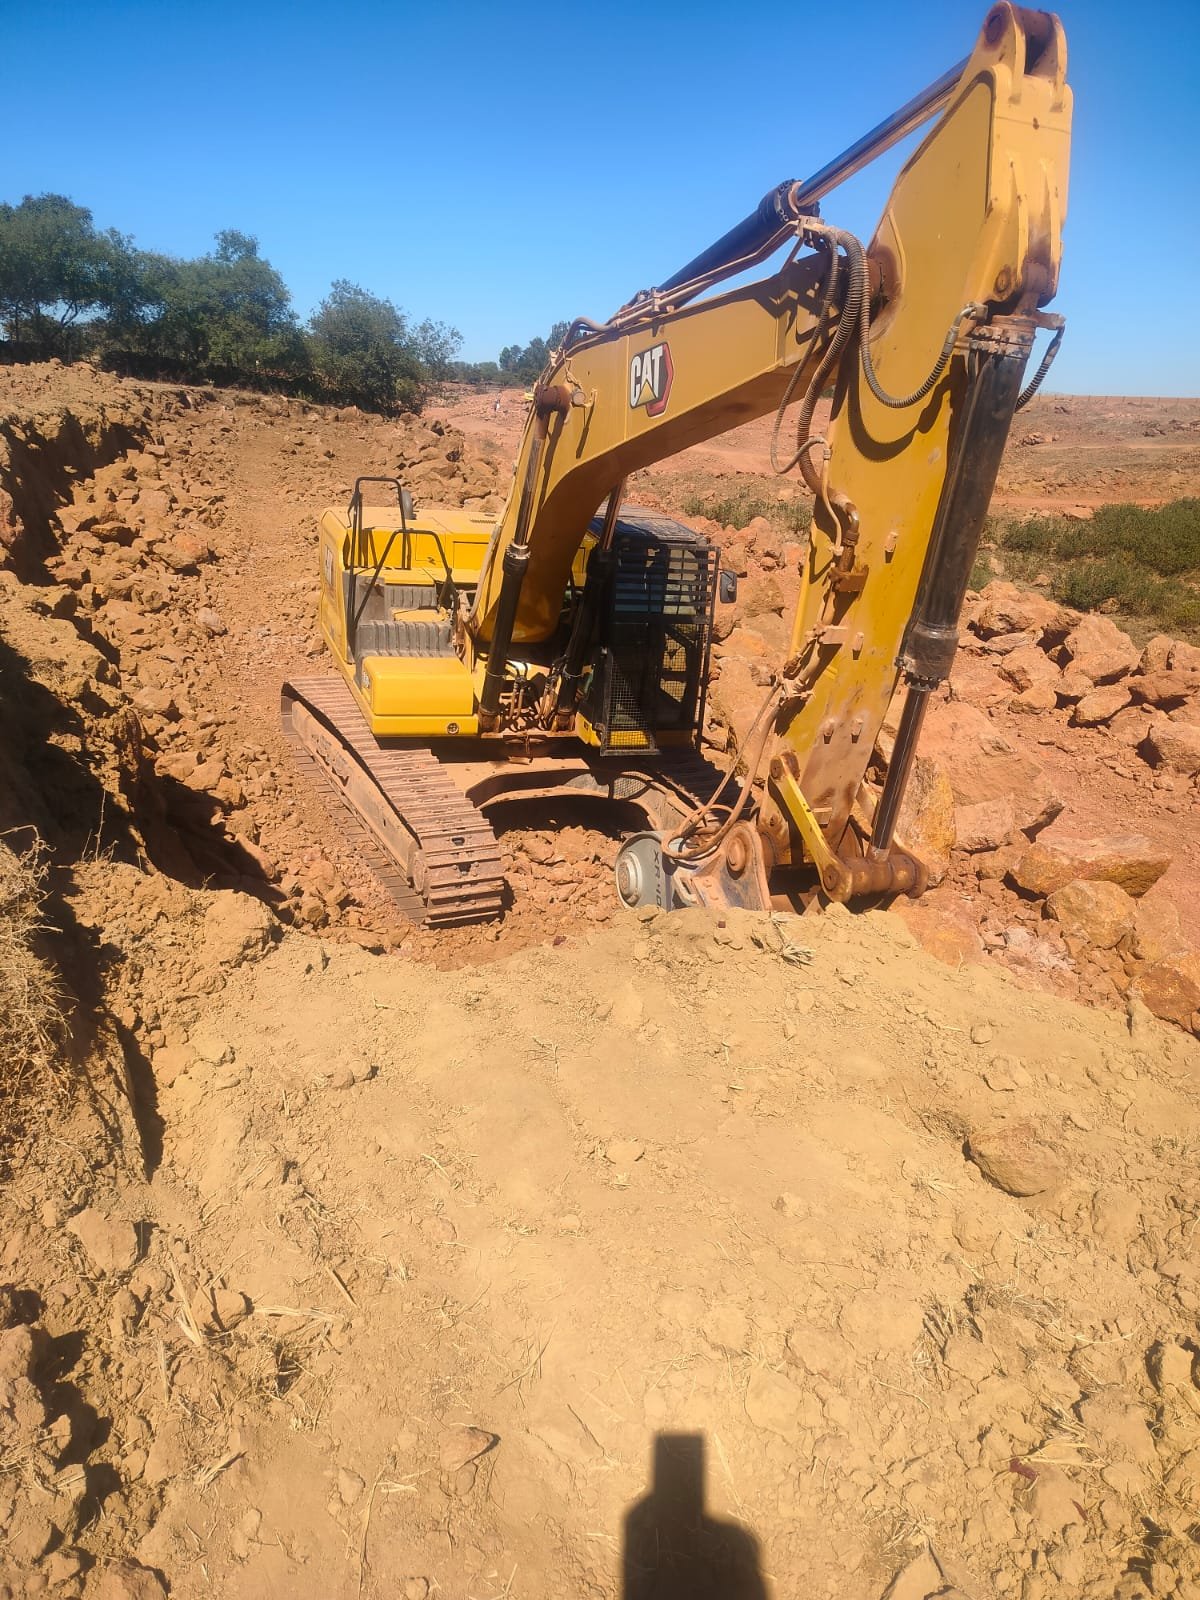
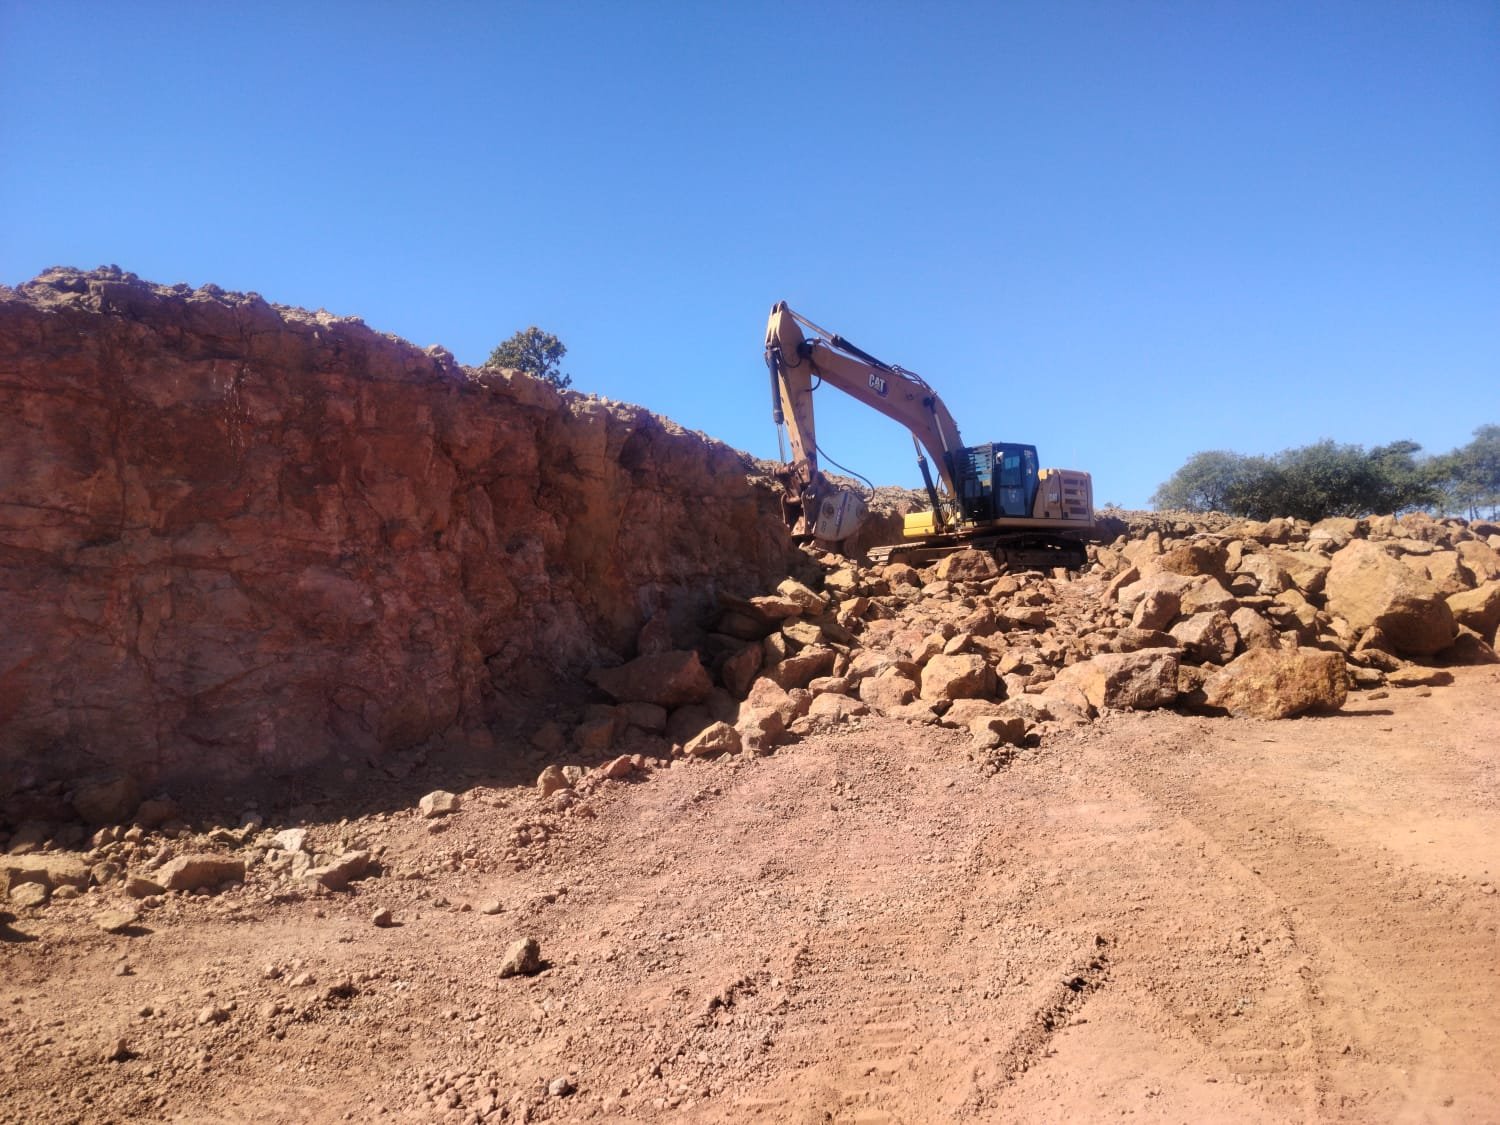
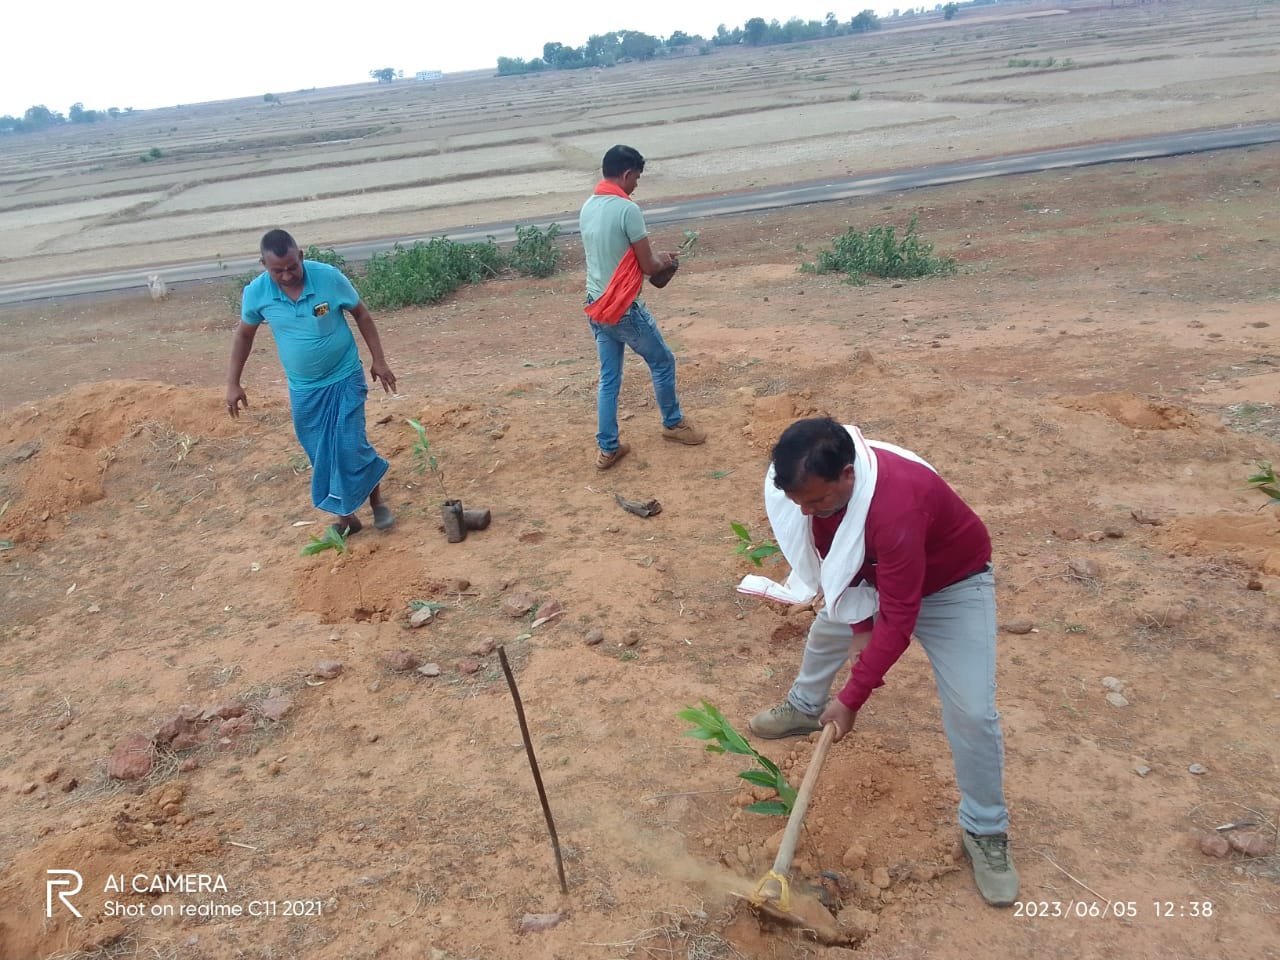
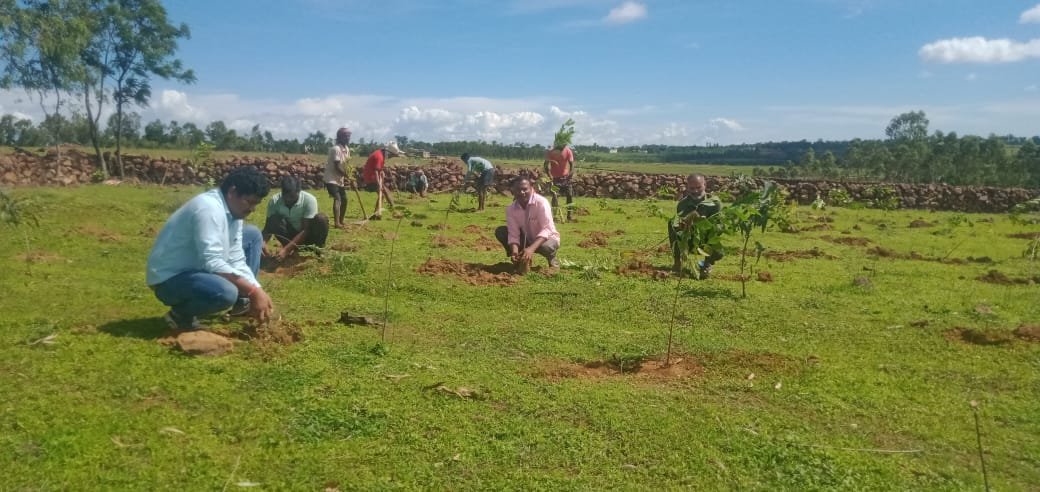
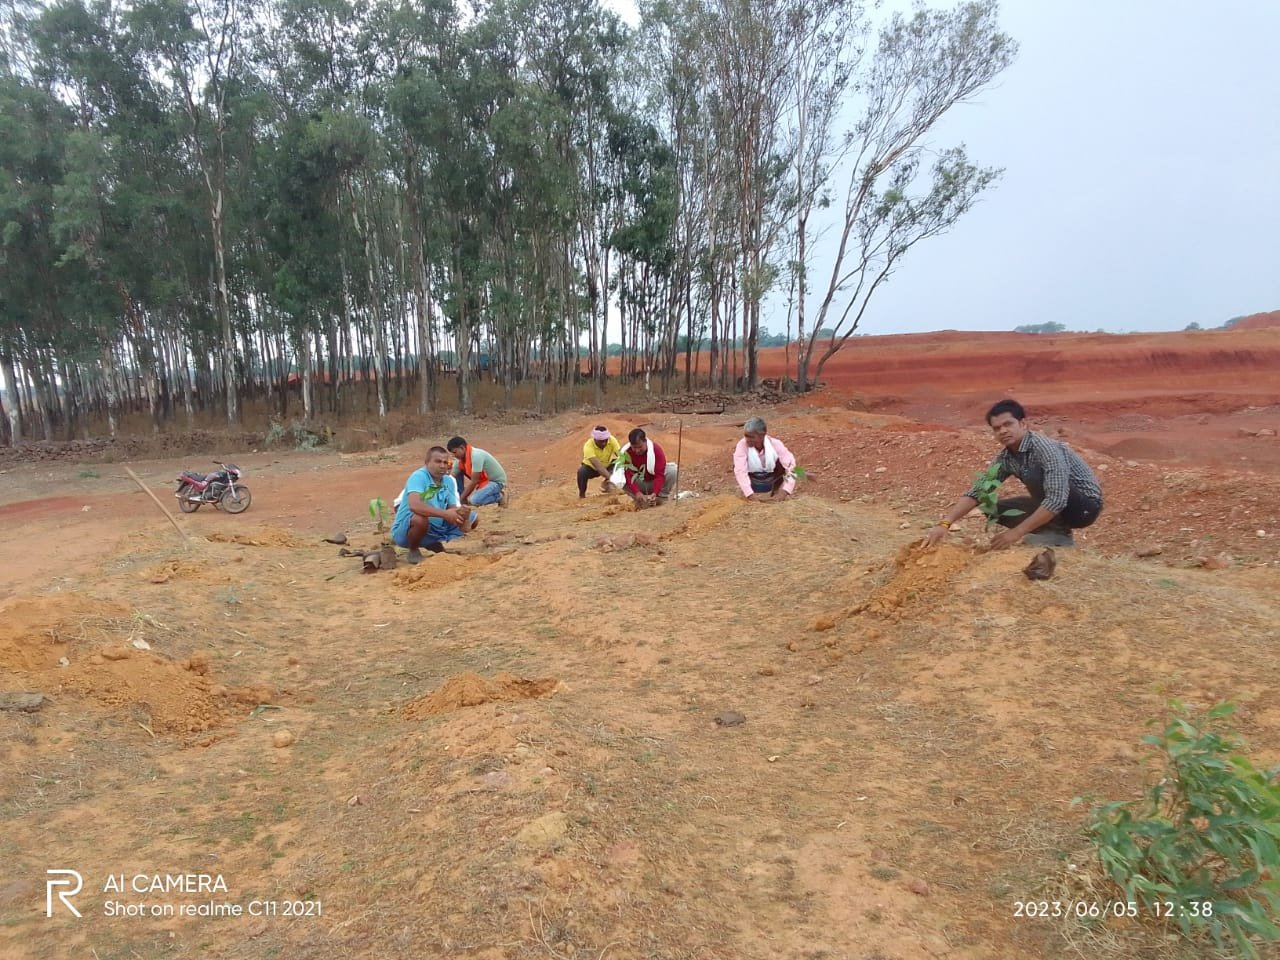
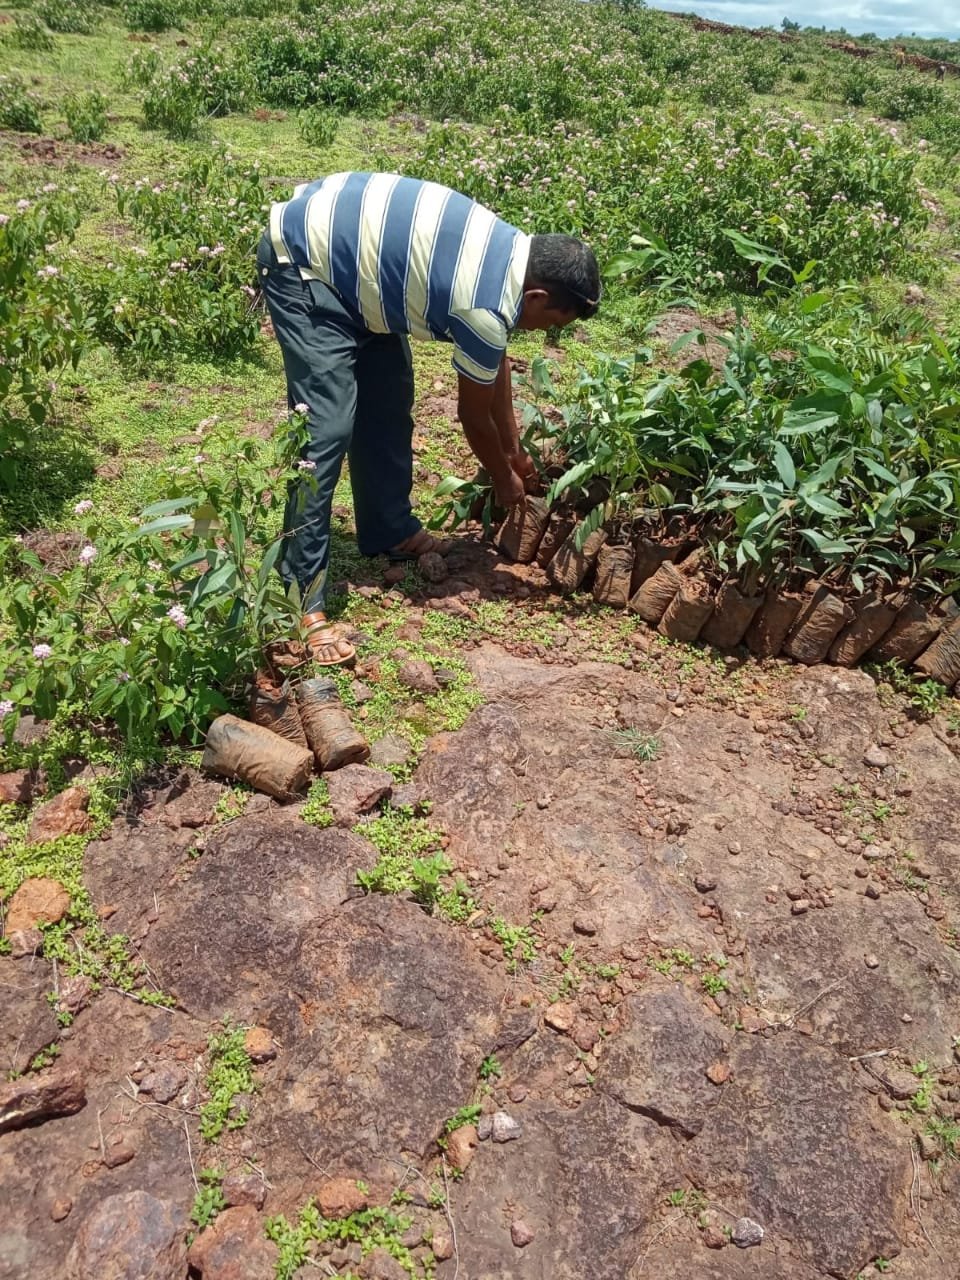
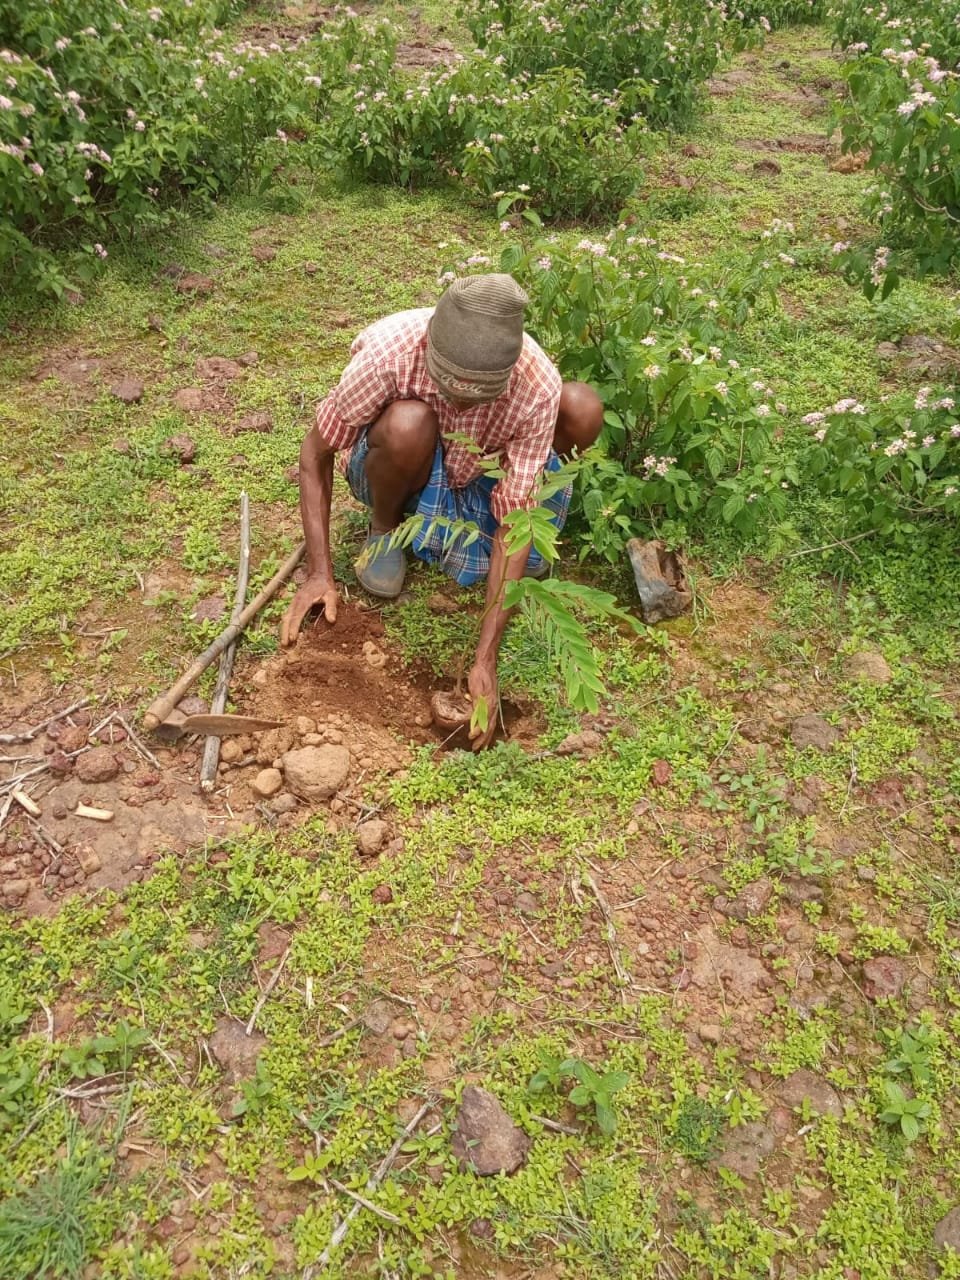
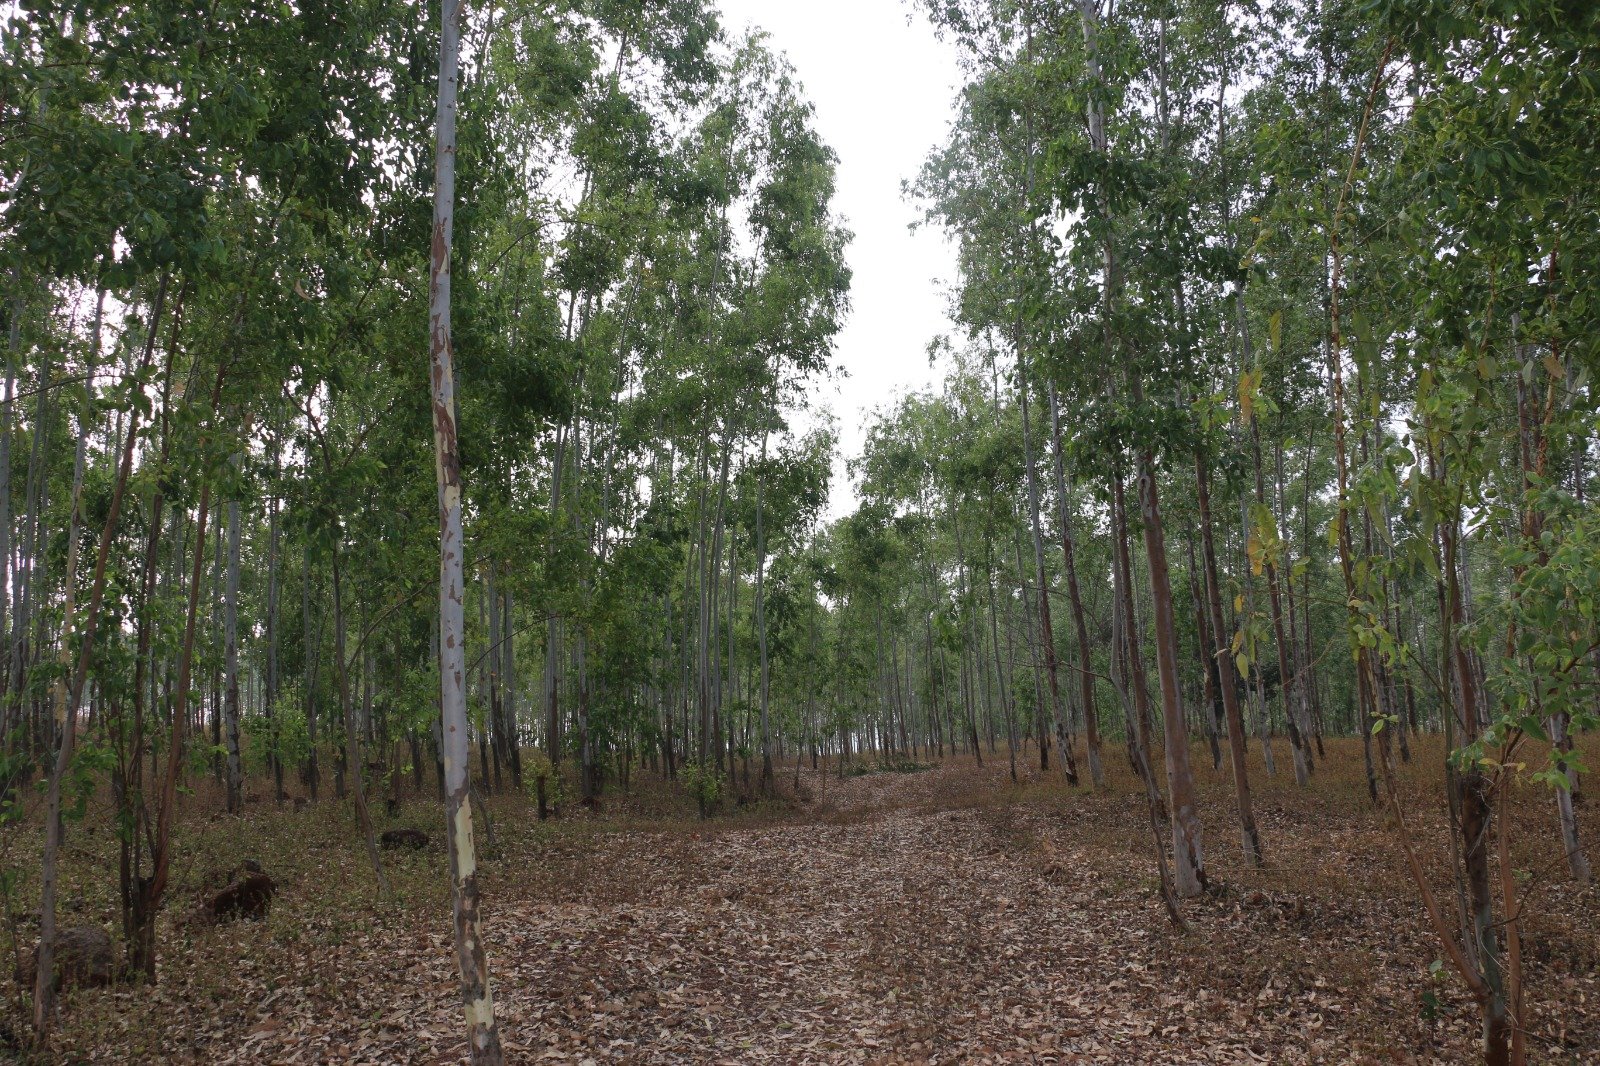
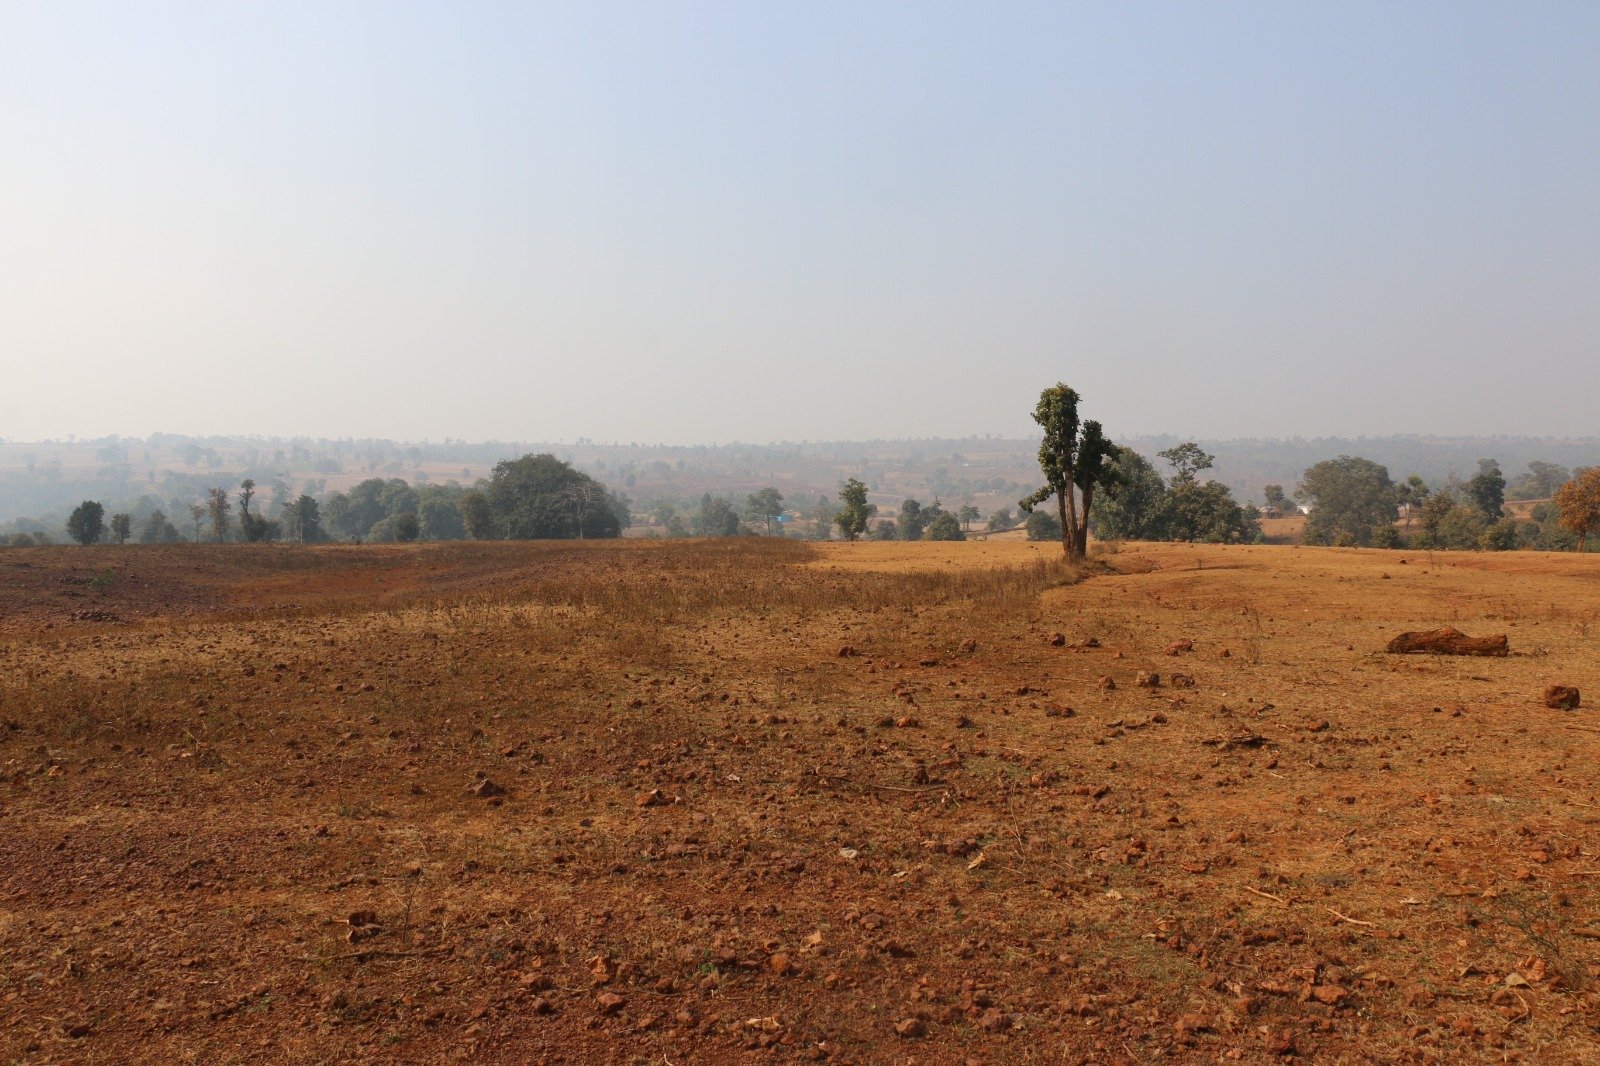
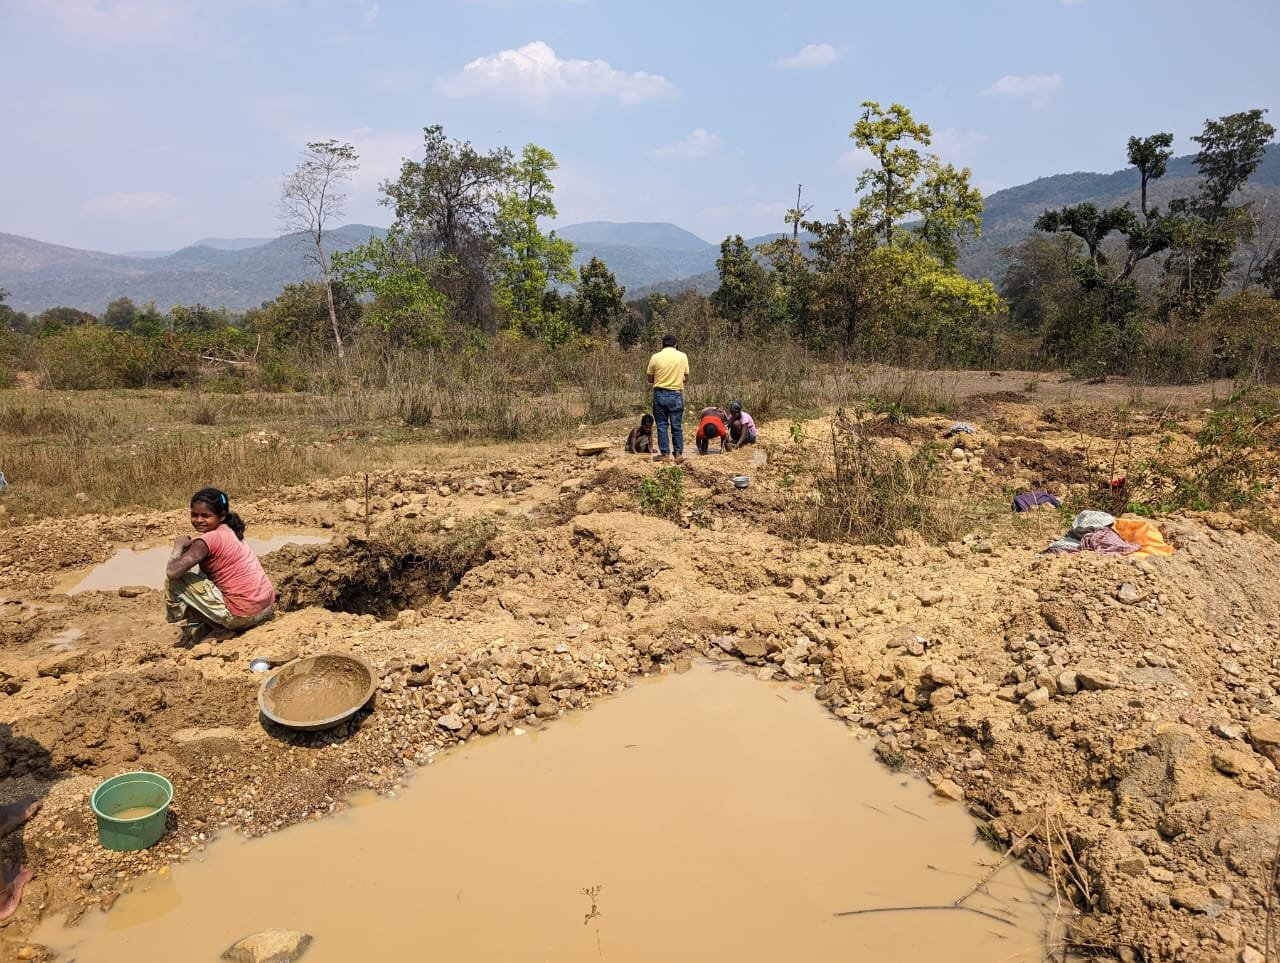
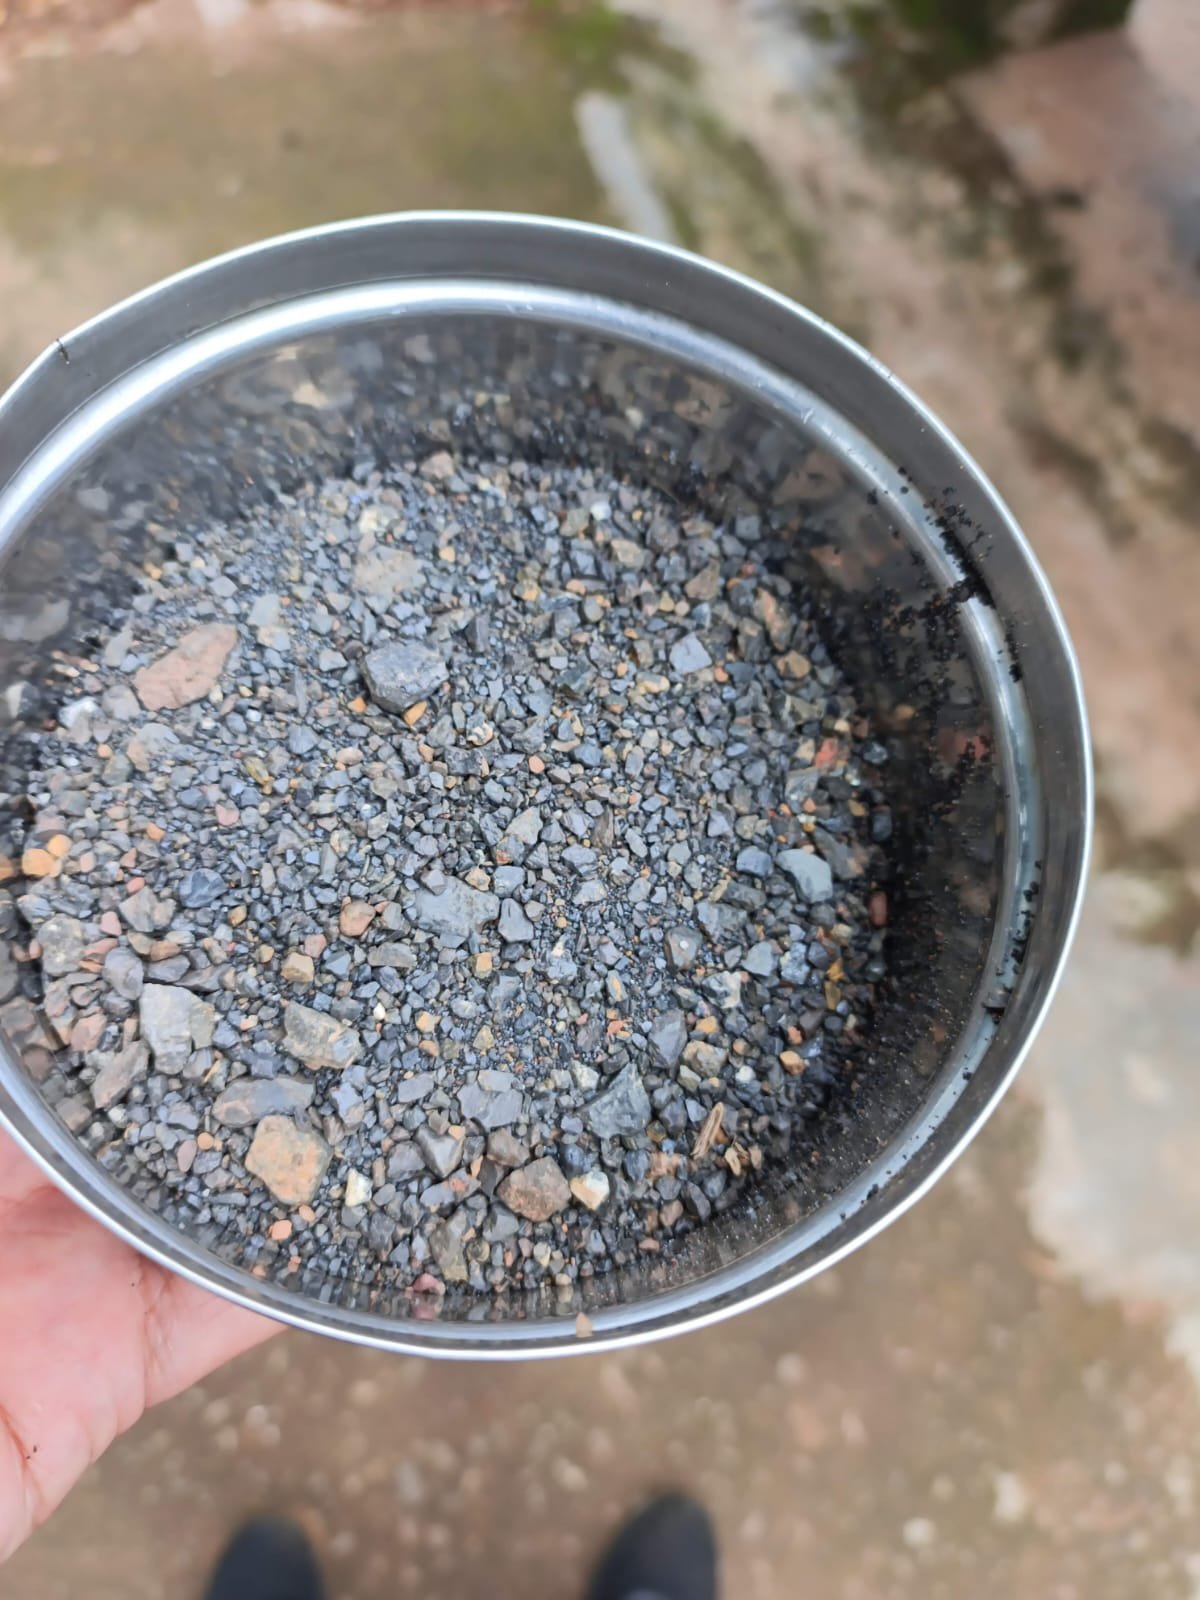
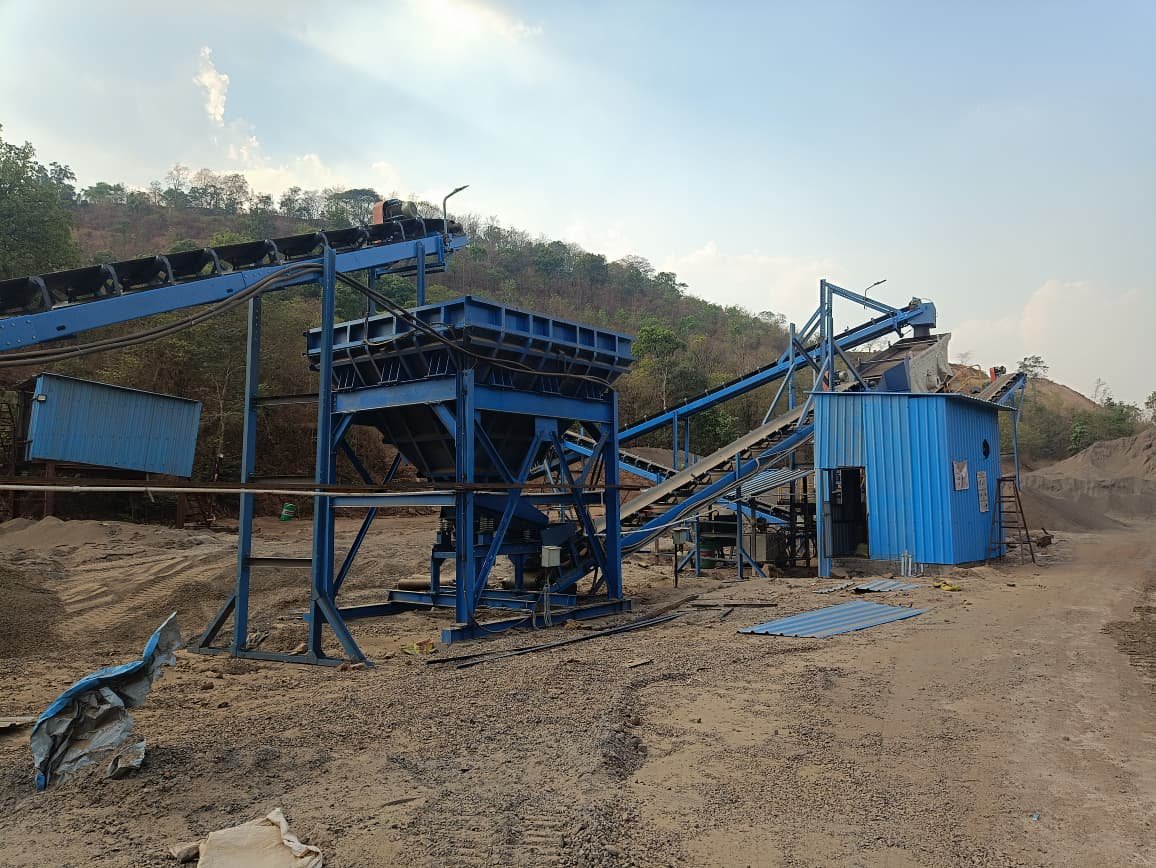
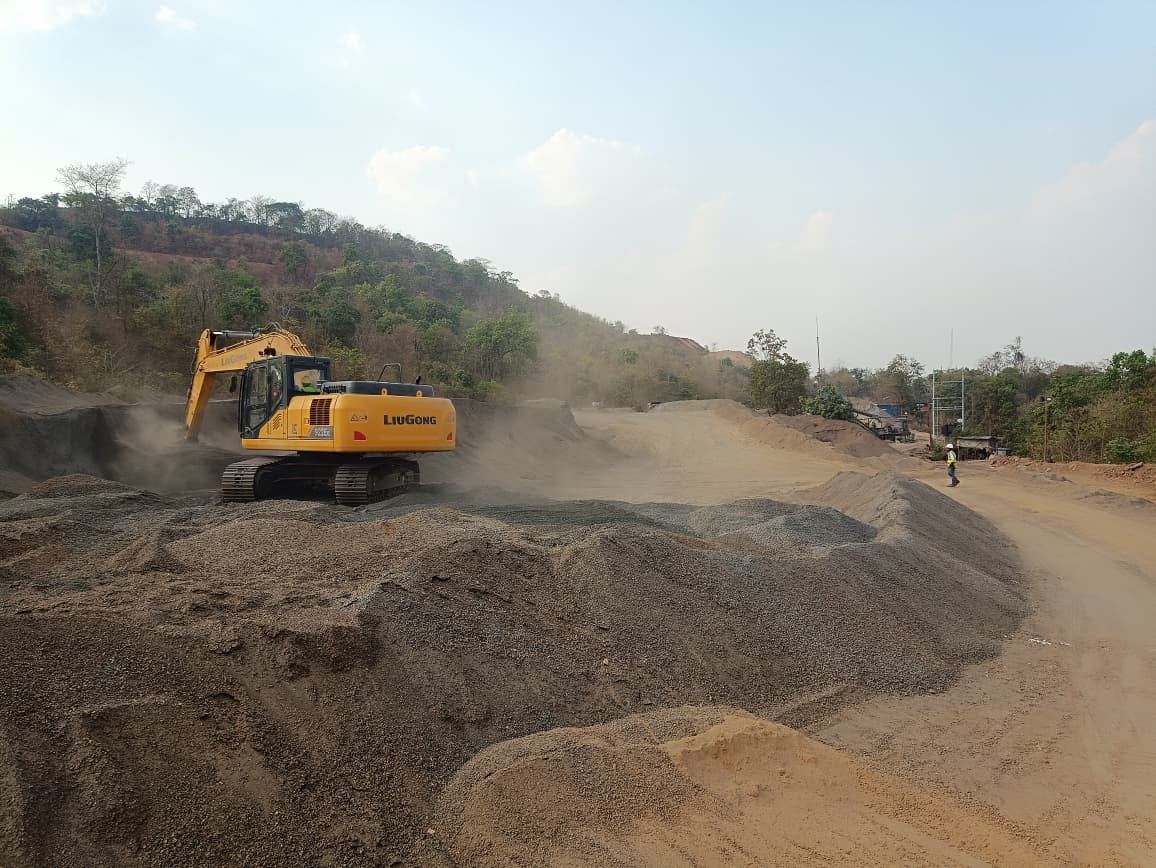
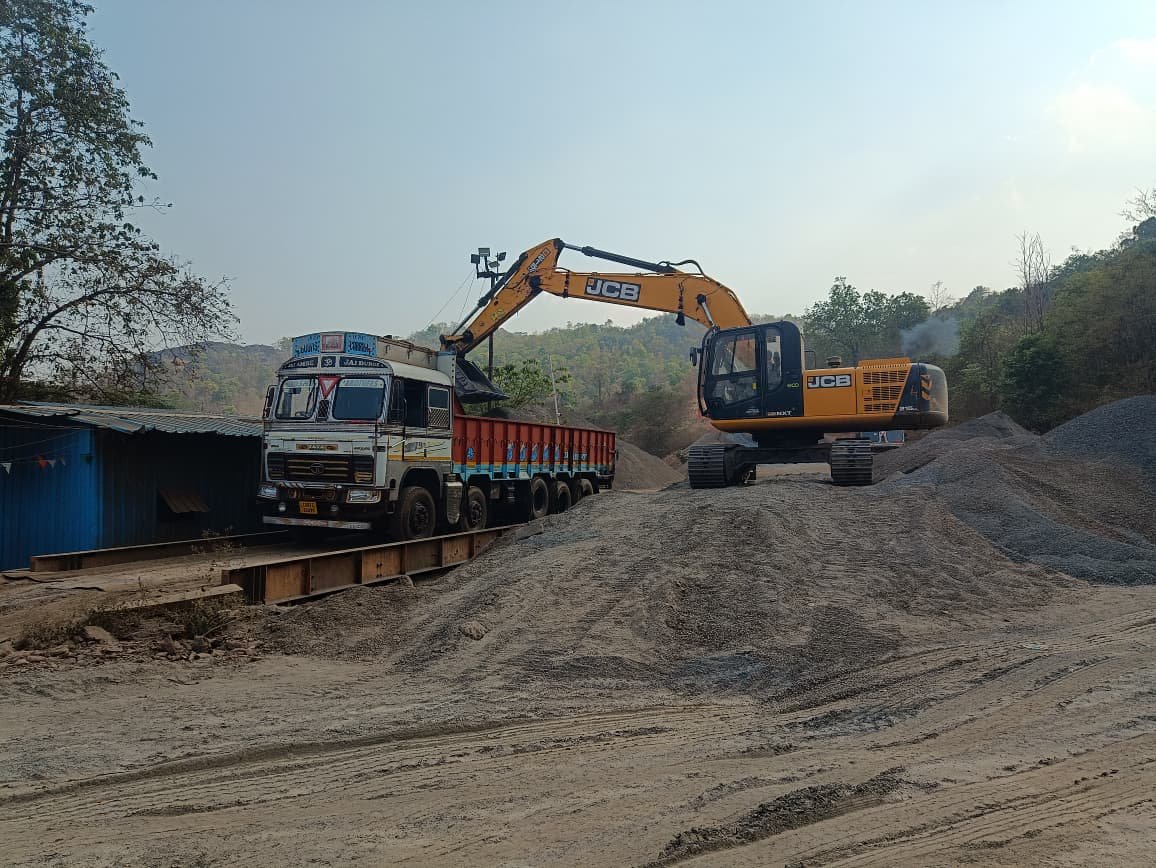
Photo Gallery

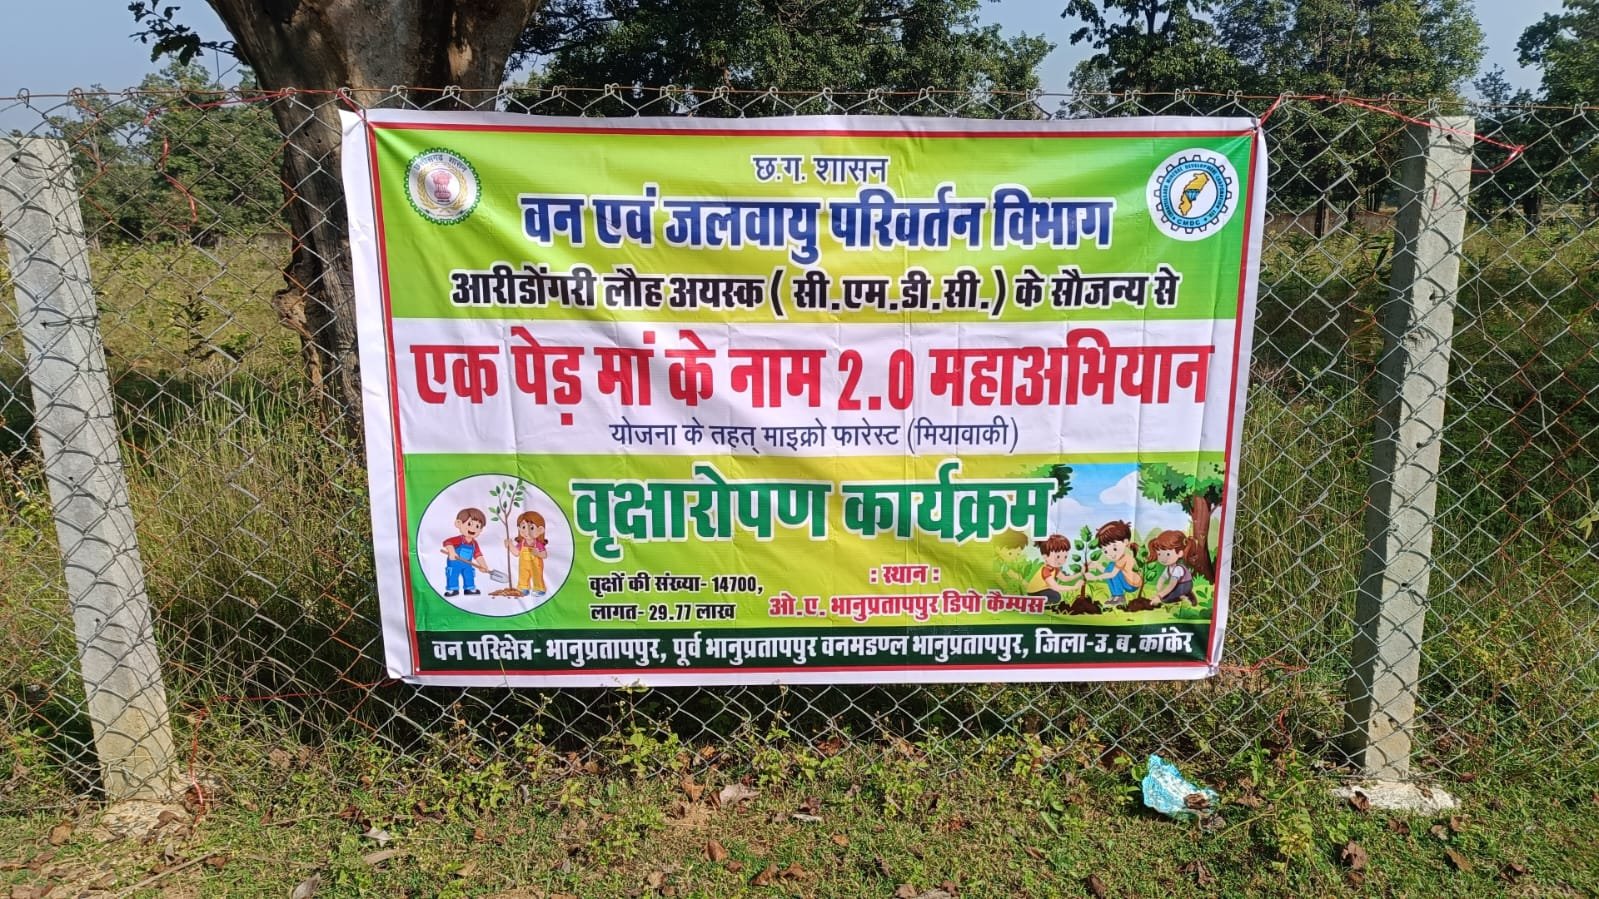
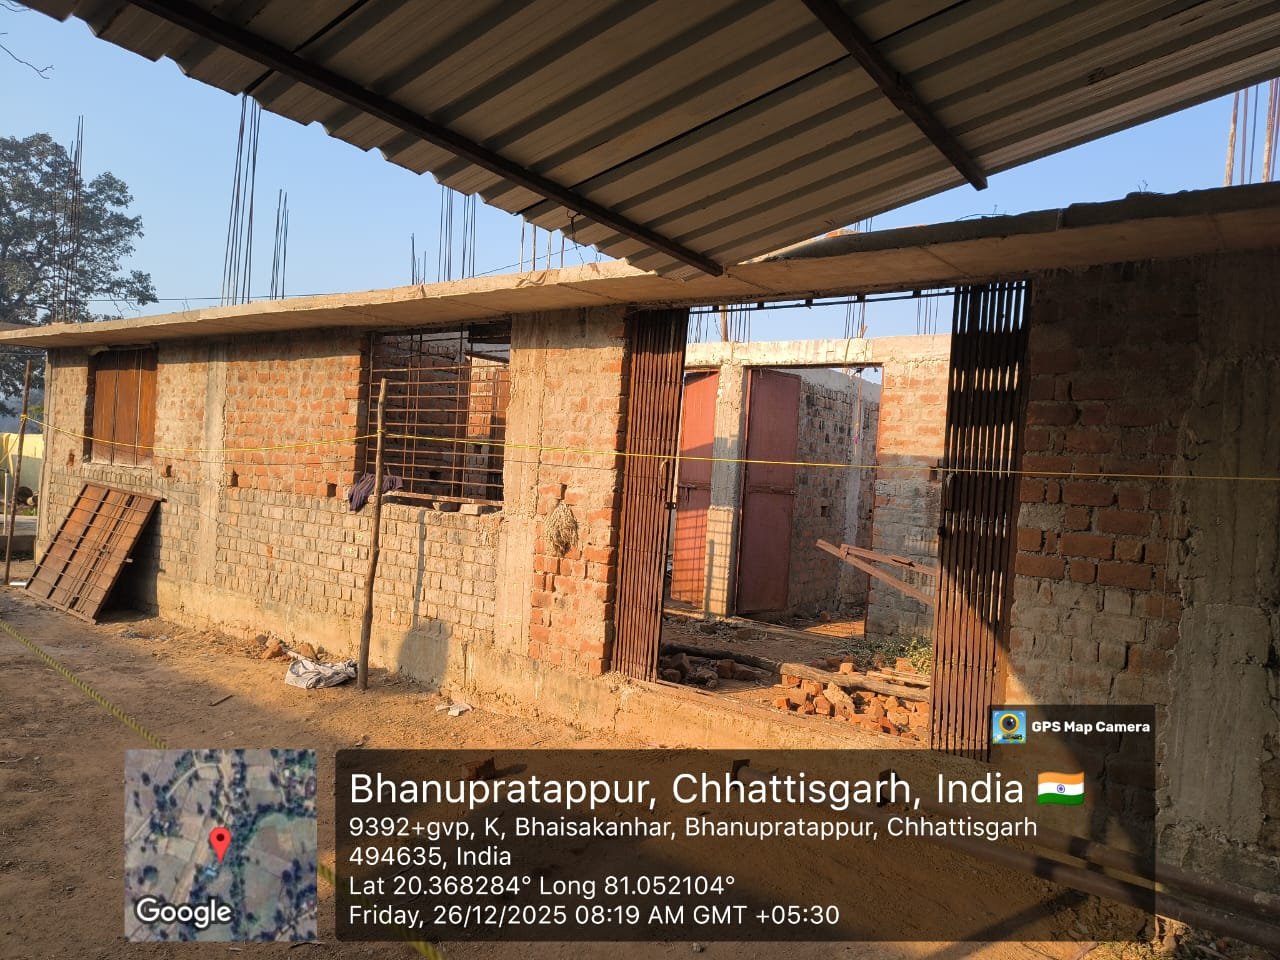
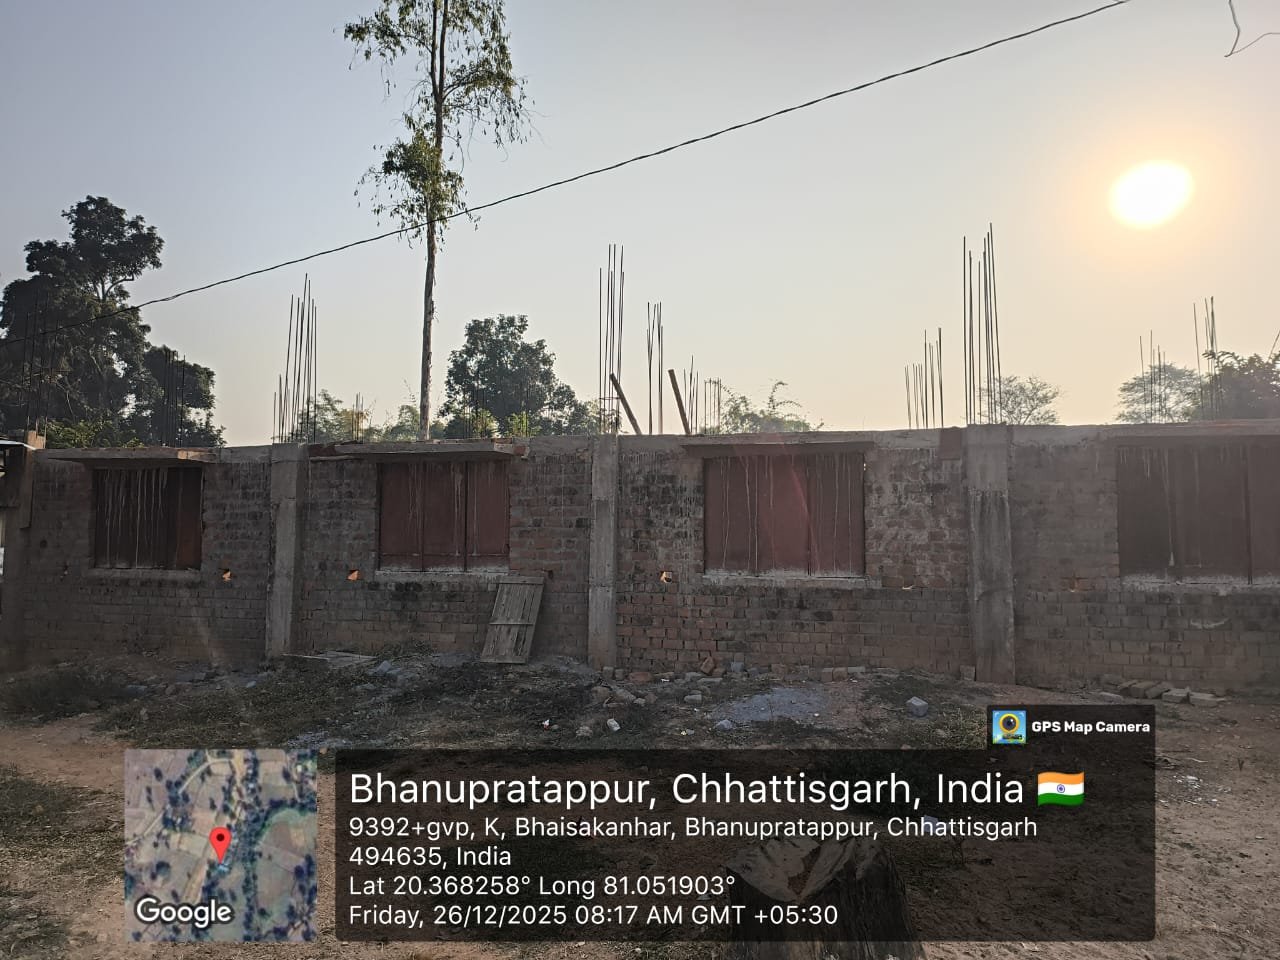
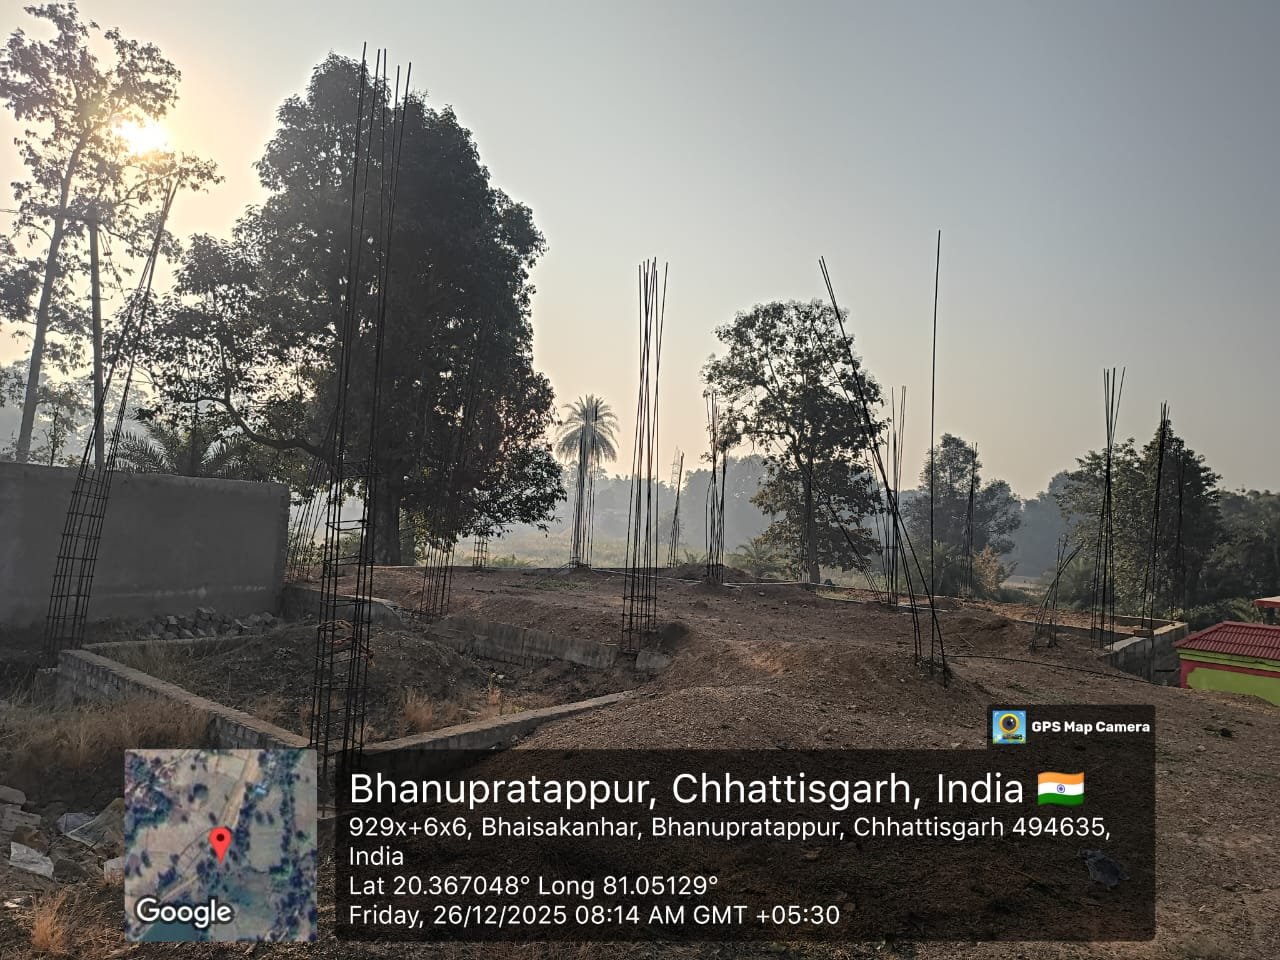


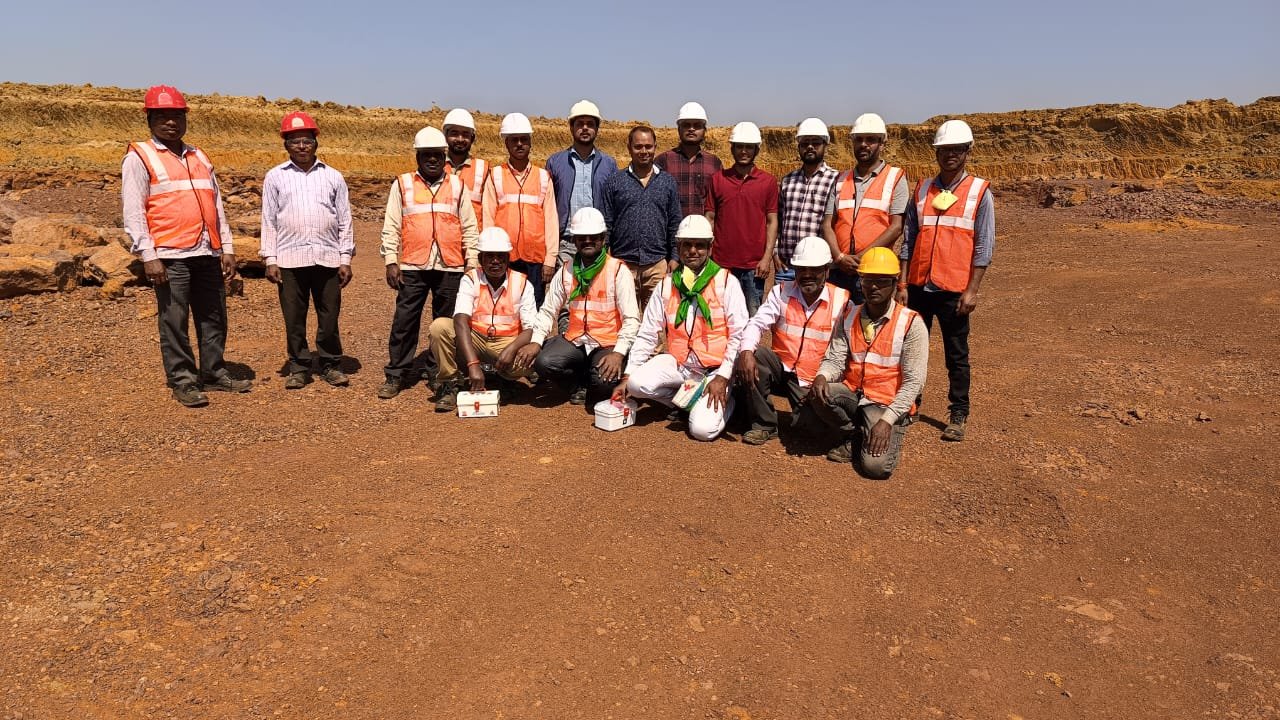


Government of Chhattisgarh Undertaking